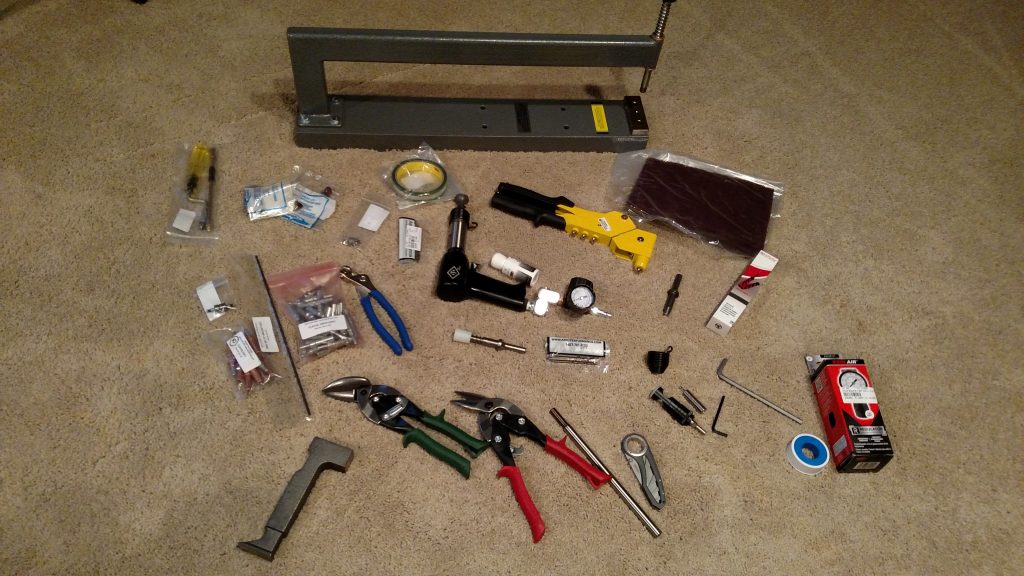
After ordering all the tools and having them shipped to my parents, I dug my air compressor out of storage and waited for my shipments of tools over the next two days.
Once my tools arrived I unboxed them and started fiddling with them. I had previously watched some youtube videos to learn about the tools and how to use them, but I learn much better by being able to have them in my hands and see how they work.
These tools should be enough to get me started and be able to do all the practice kits. When I start the airplane, I’ll need a few more tools and a lot more Clecos. You’ll see the clecos better in later pictures.
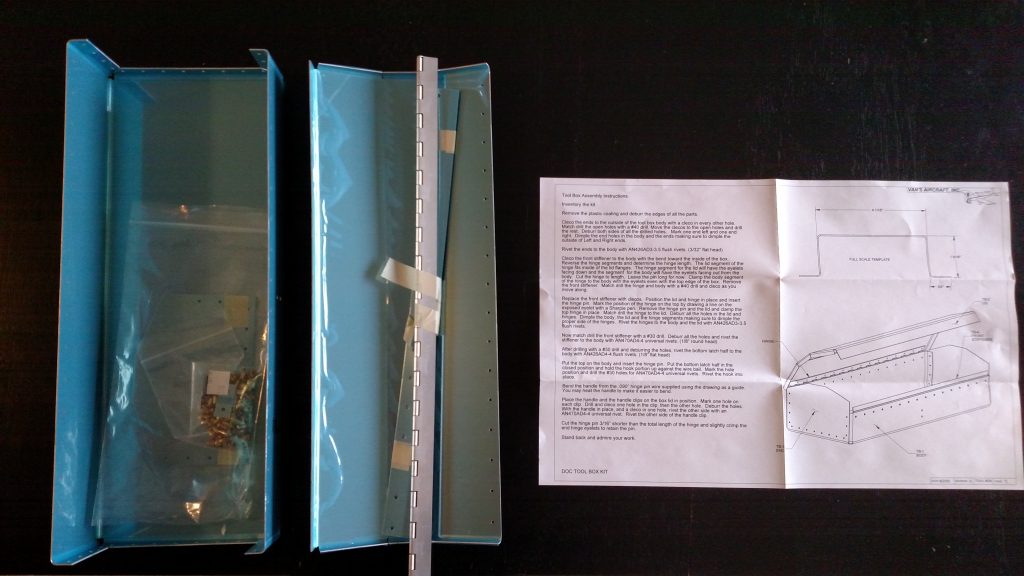
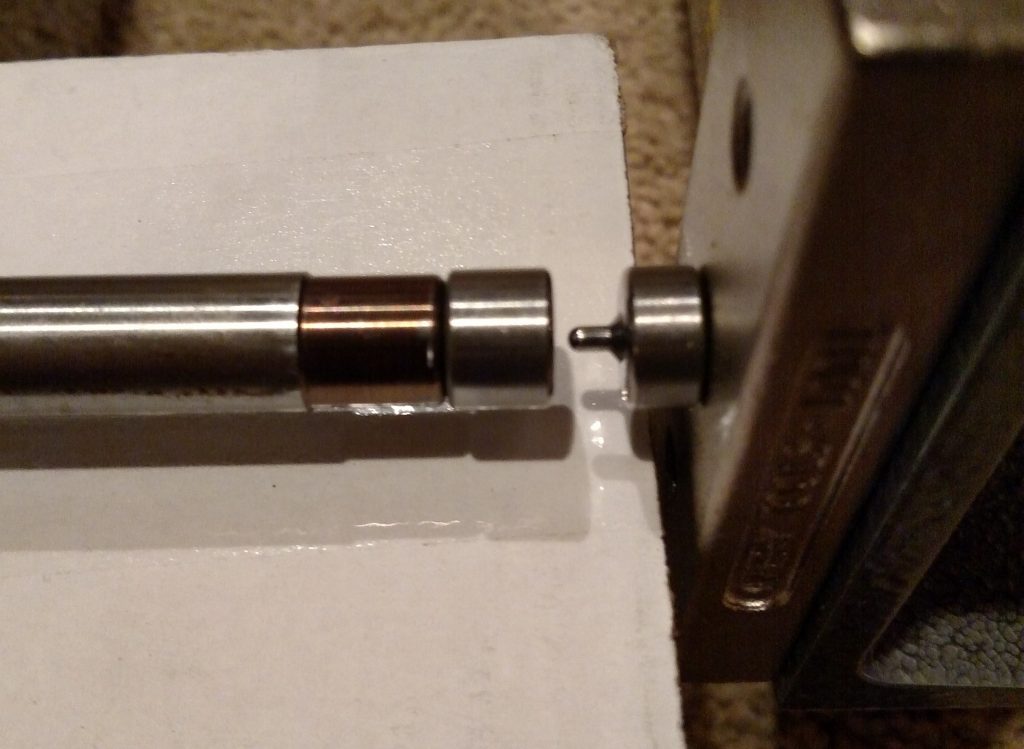
Cleco and Match Drilling
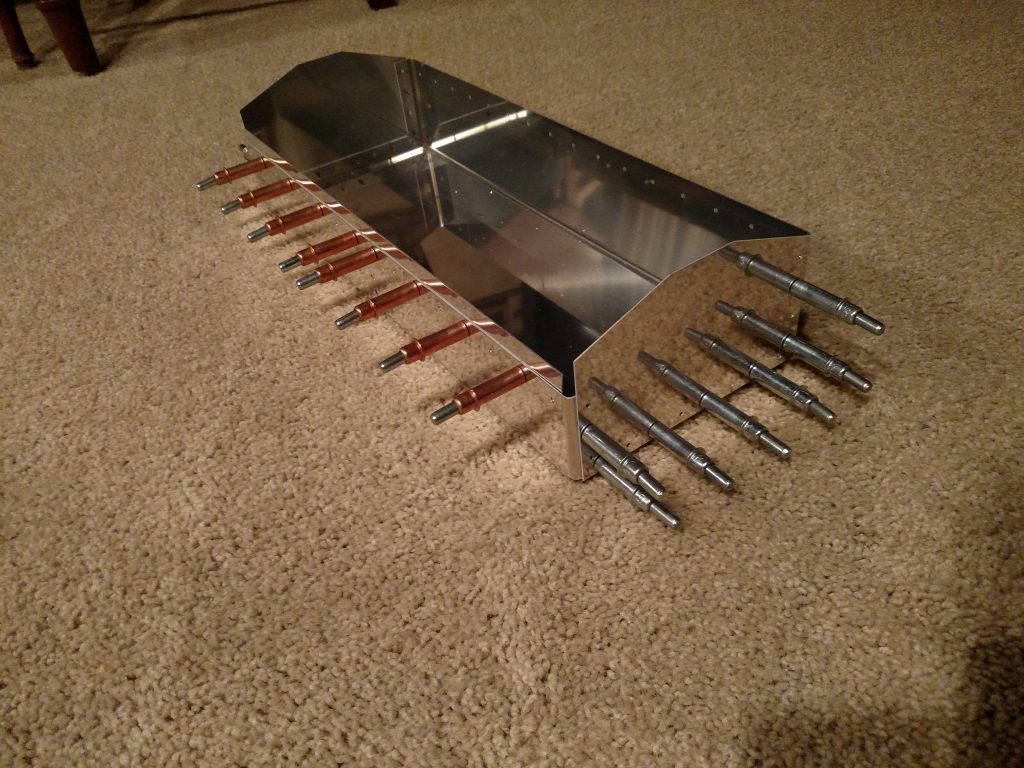
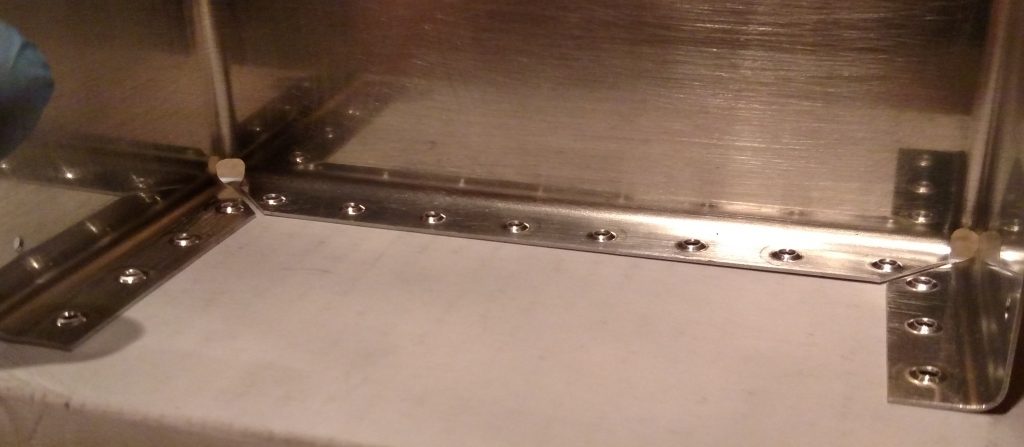
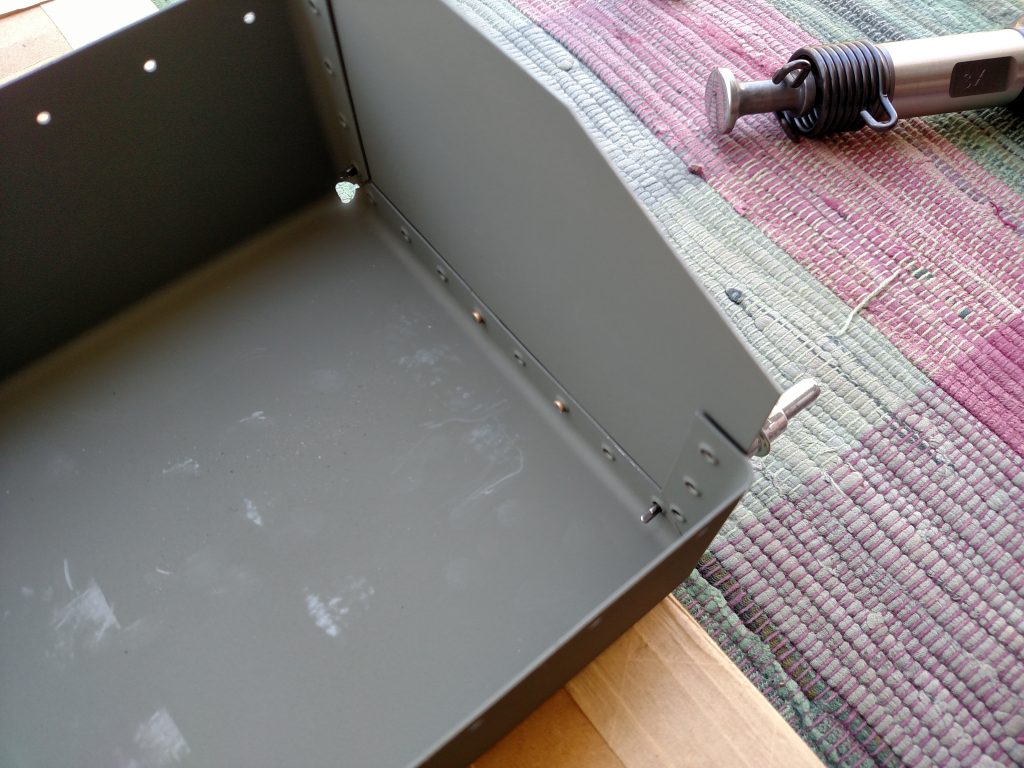
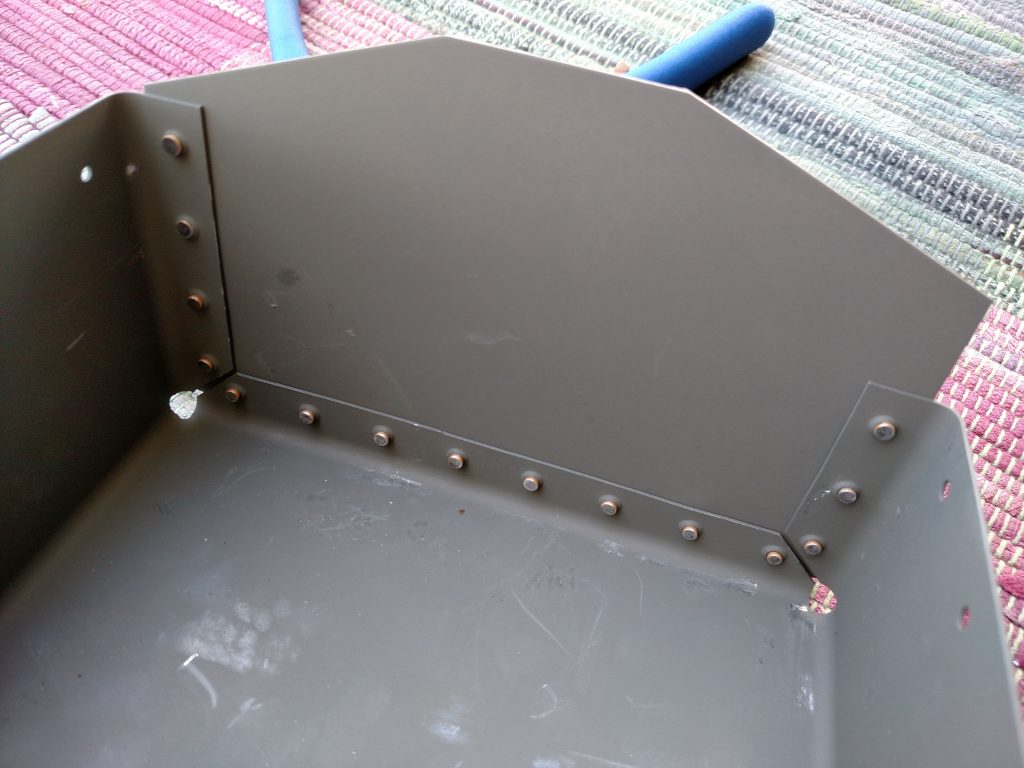
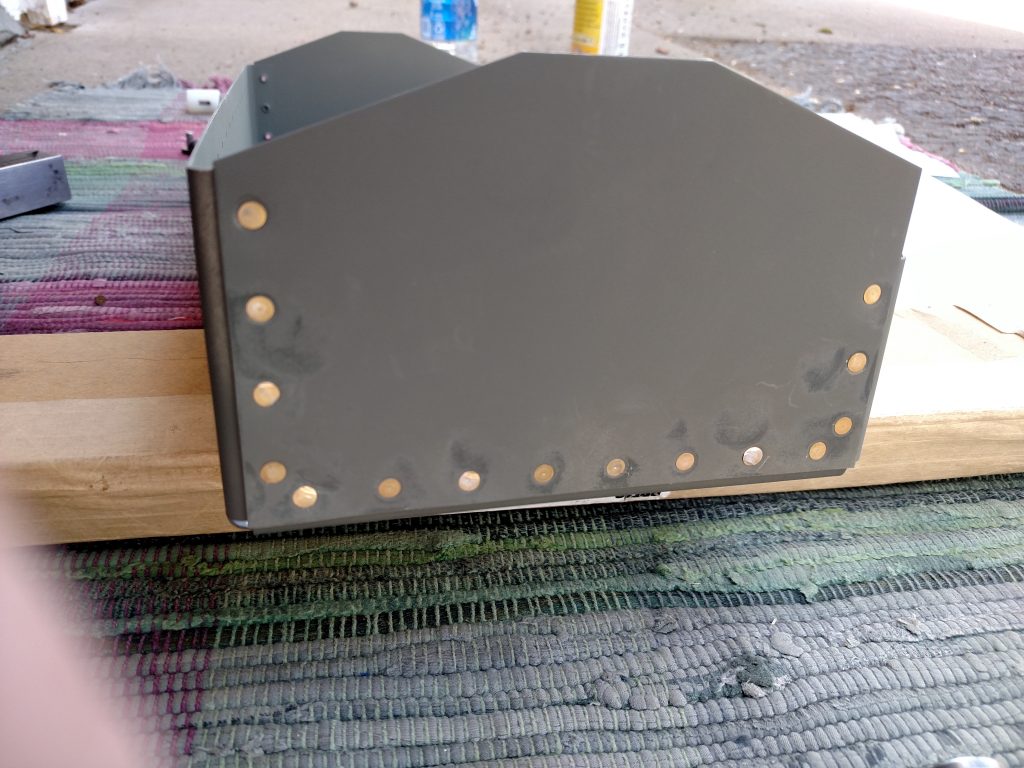
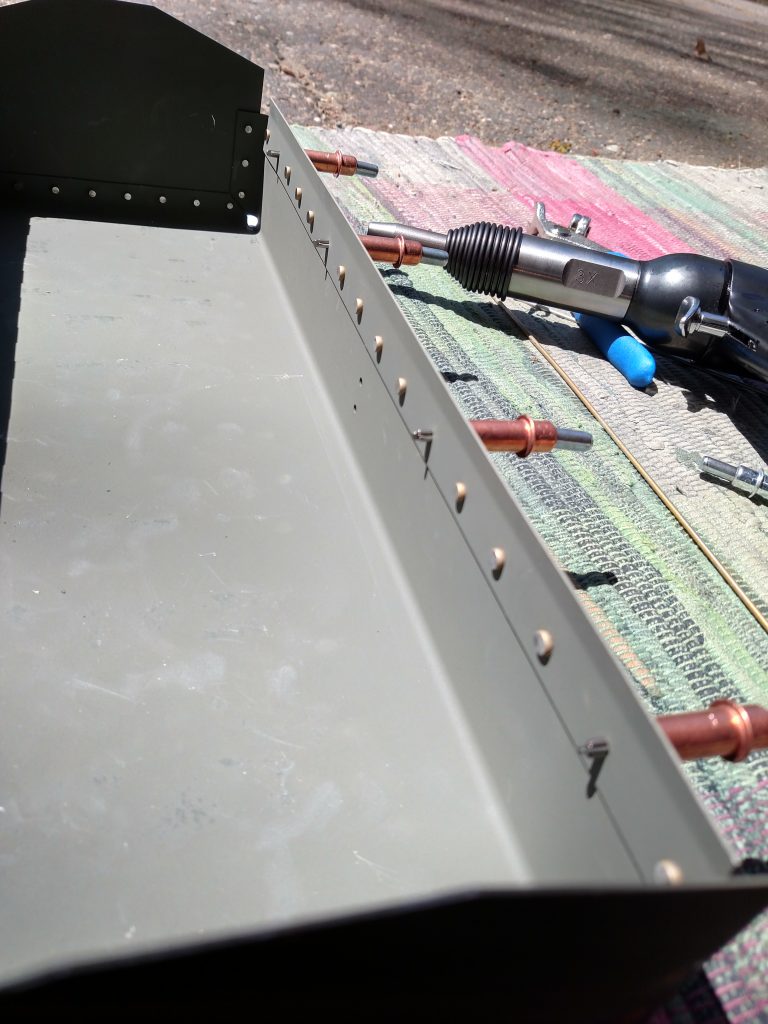
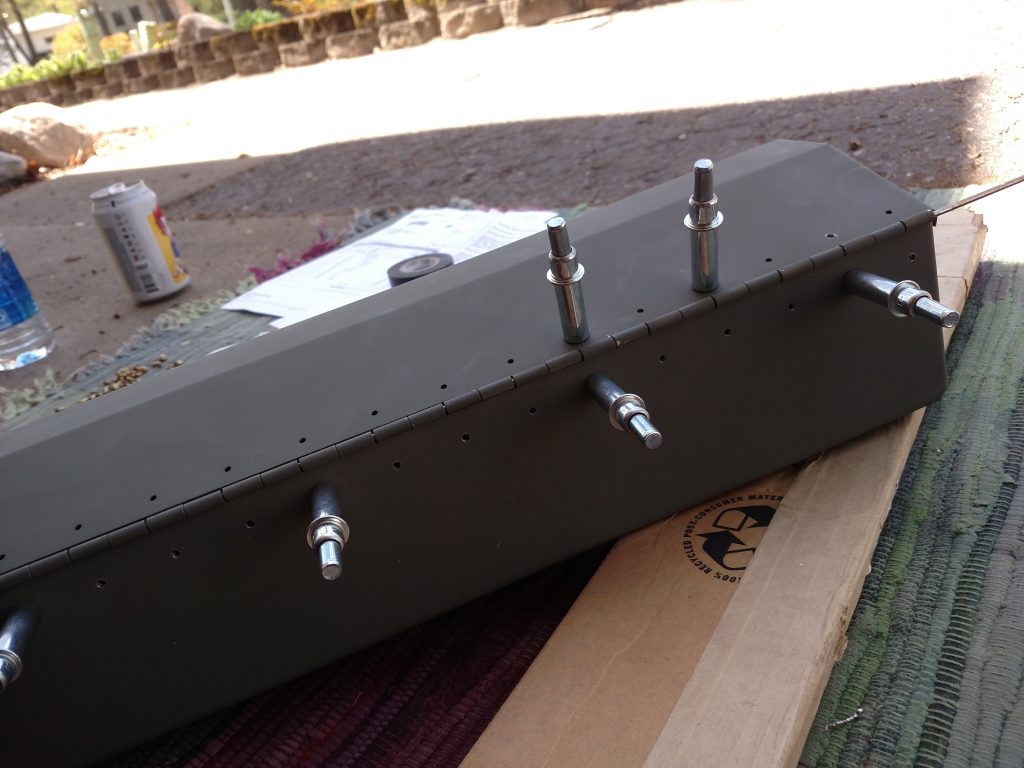
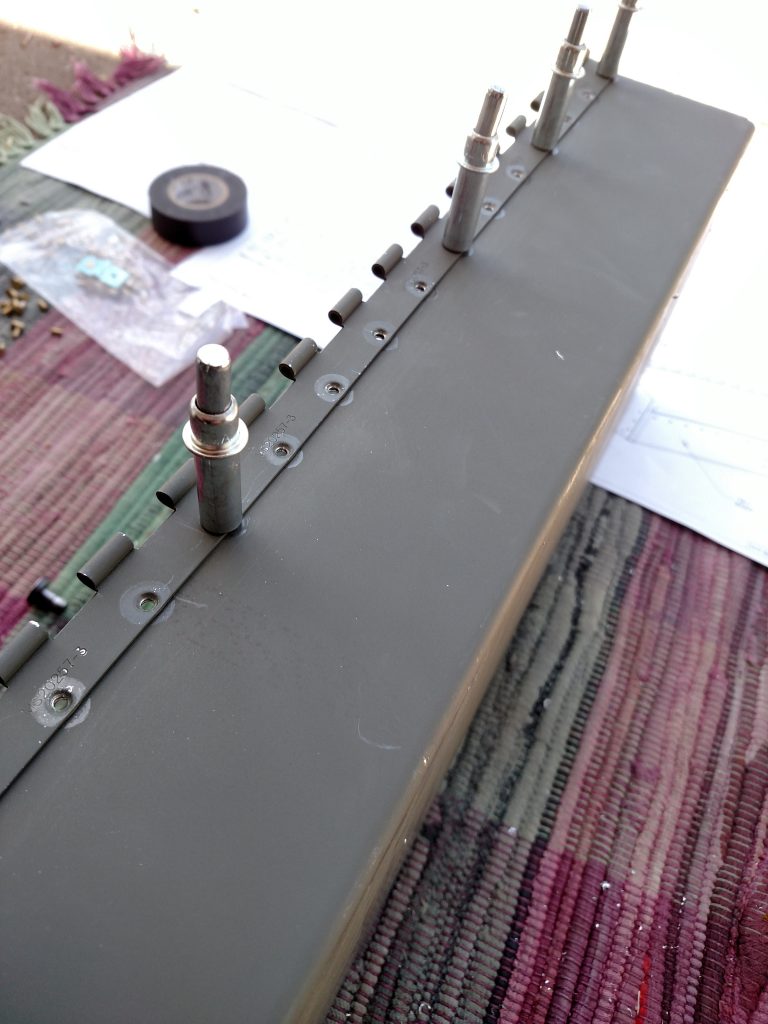
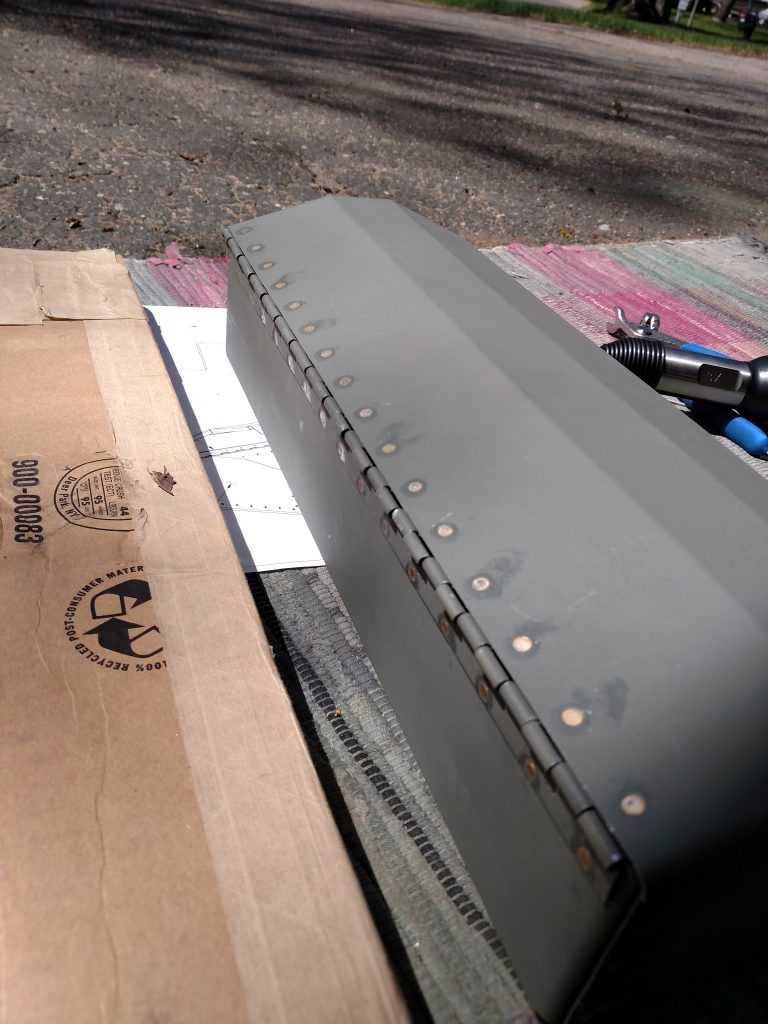
The sheet metal comes from the factory laser cut and bent. The rivet holes are intentionally cut too small so they can be drilled later to a higher degree of accuracy. This is what the Clecos are for. You Cleco every other hole or every third, and these provide a temporary way to hold all the parts together and get them properly aligned before drilling to final size and location. A Cleco works very similar to a drywall anchor. It goes through all the holes to the back of the sheet metal, expands, then pulls forward, compressing the sheets together. In the photo above the silver Clecos are holding the base to the side wall and the copper Clecos are holding the base to the front re-enforcement piece, referred to as a doubler.
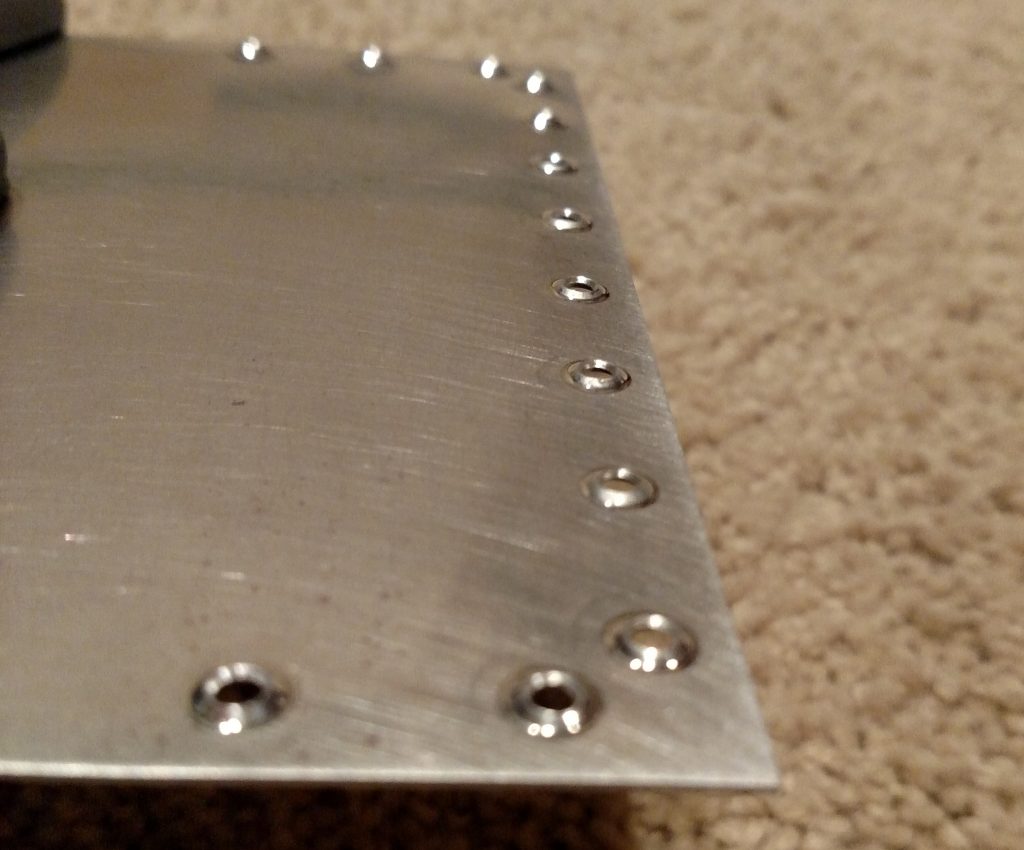
The next step is match drilling the holes. That’s just a fancy way of saying drilling the holes to final size. This ensures that during final assembly the pieces will fit together with very minimal error. After drilling the non-Cleco holes, the Clecos get relocated to the drilled holes and the remaining holes get drilled. A pretty simple process once you get the hang of it.
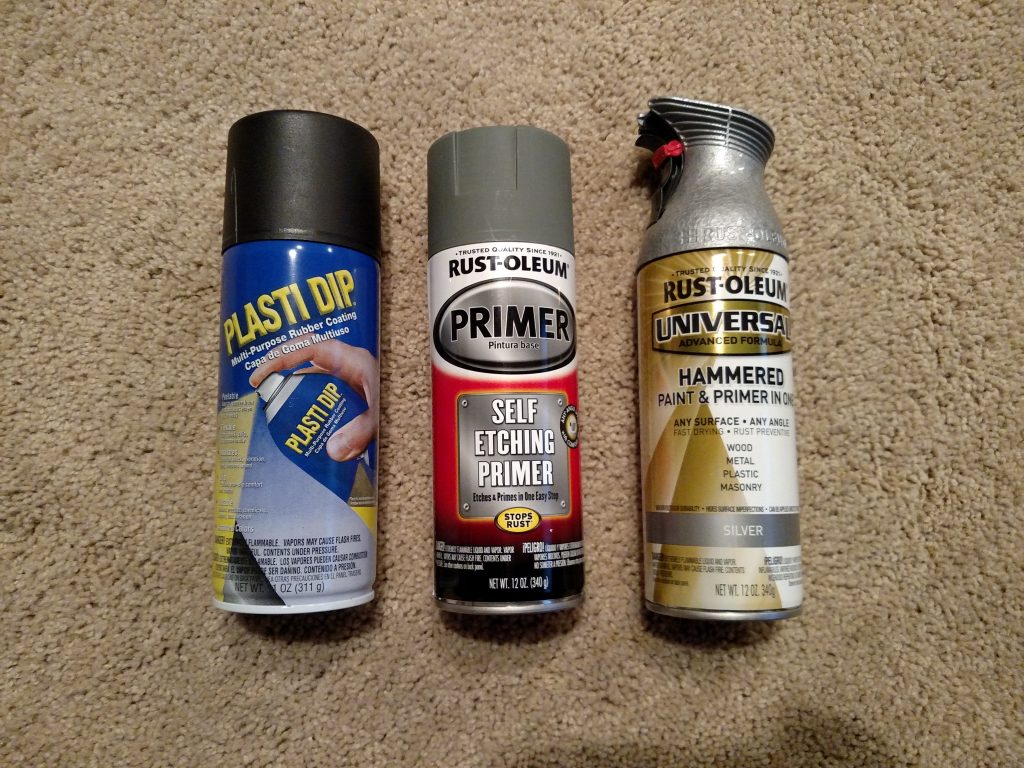
Primer Wars
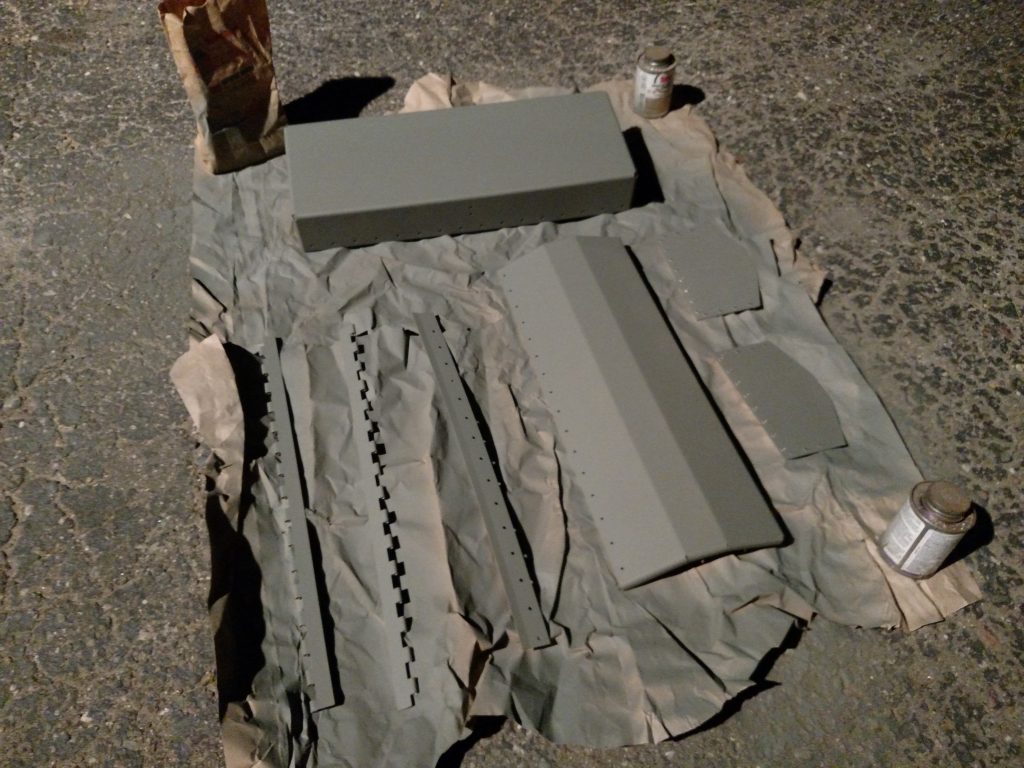
There is a ton of discussion and debate on priming. Should you prime? If so, what should you prime with? Does the whole aircraft need to be primed or just certain sections? How long will the aircraft last without priming? For a longer blurb and links to other discussions about the issue, click here. Otherwise here’s the short version. Aluminum is a very soft, light and naturally corrosion resistant metal. In order to give it some strength they mix is with other elements that unfortunately now makes it susceptible to corrosion. So they coat the alloy with a very thin layer of pure aluminum to return it’s corrosion resistance. Again aluminum is soft and prone to scratching so some people further this protection by adding a layer of primer. I thought I’d try priming for this first toolbox, so I scuffed all sheet metal with Scotch-Brite to clean and promote primer adhesion. The primer I used was Rust-Oleum Self Etching Primer (pictured below).
Dimpling
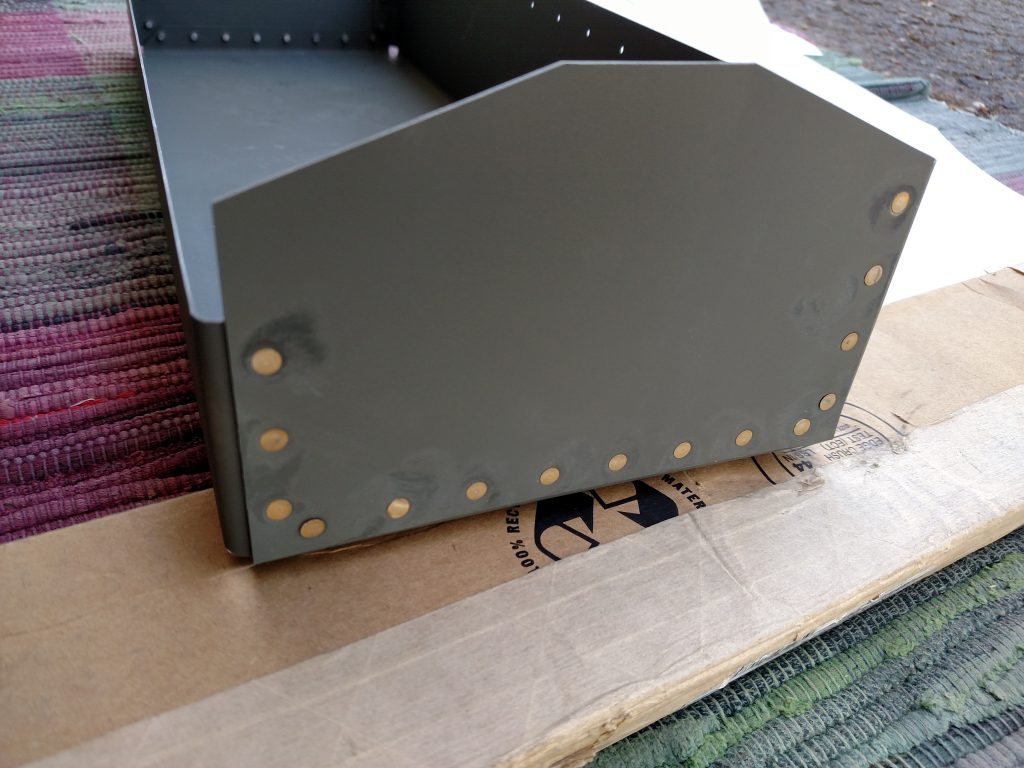
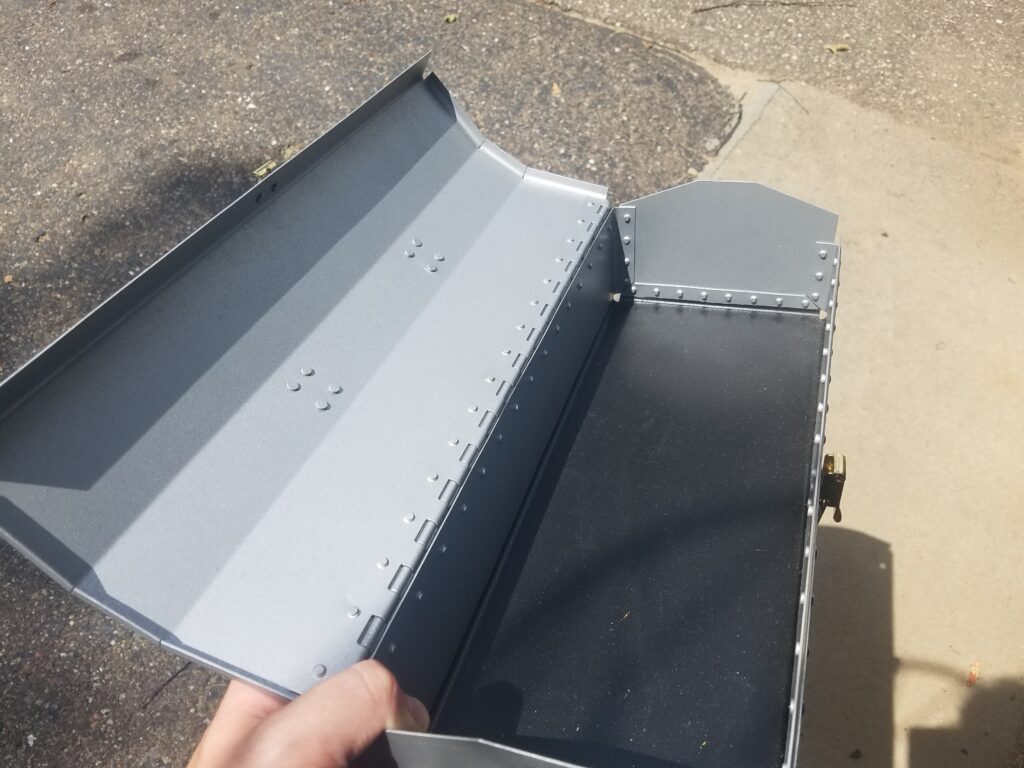
The purpose of dimpling is two-fold. One, it creates really nice looking and aerodynamic flush rivets. Two, it adds strength as shear forces are now applied to not only the rivet but the metal itself.
Primed!
First Rivets Bucked
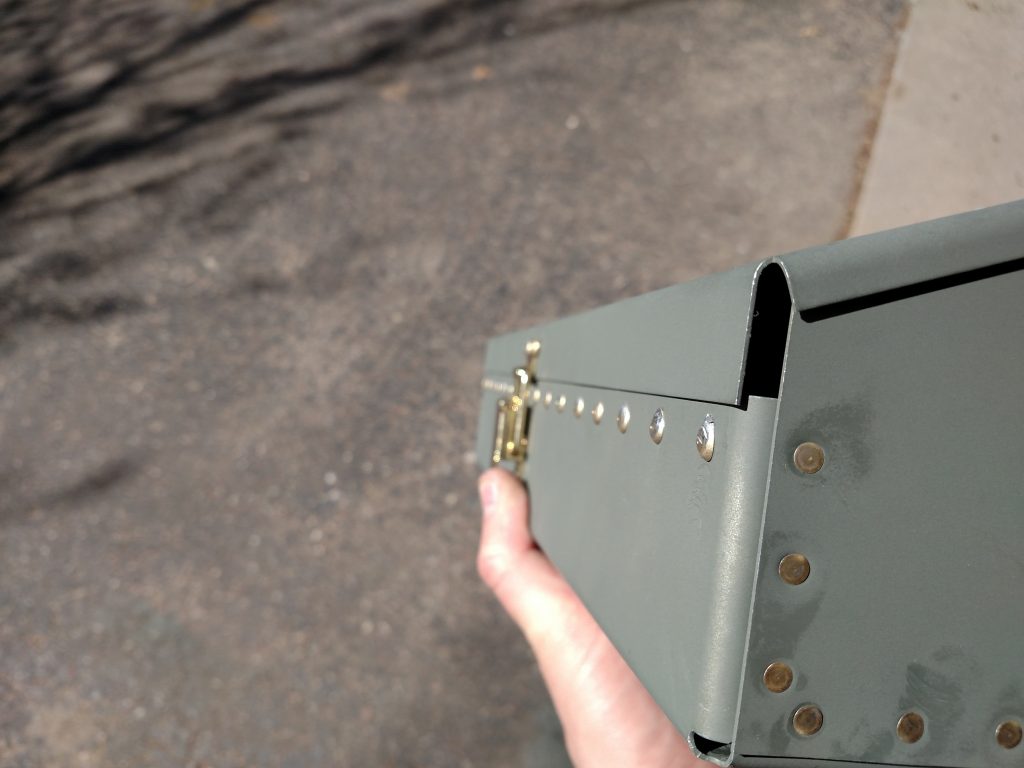
For the first time every trying riveting, it really wasn’t too bad. The toolbox held together just fine, and the rivets look mostly normal. One thing I really like about this kit is they include a LOT of extra rivets. This is really handy for when you botch a few and need to drill them out.
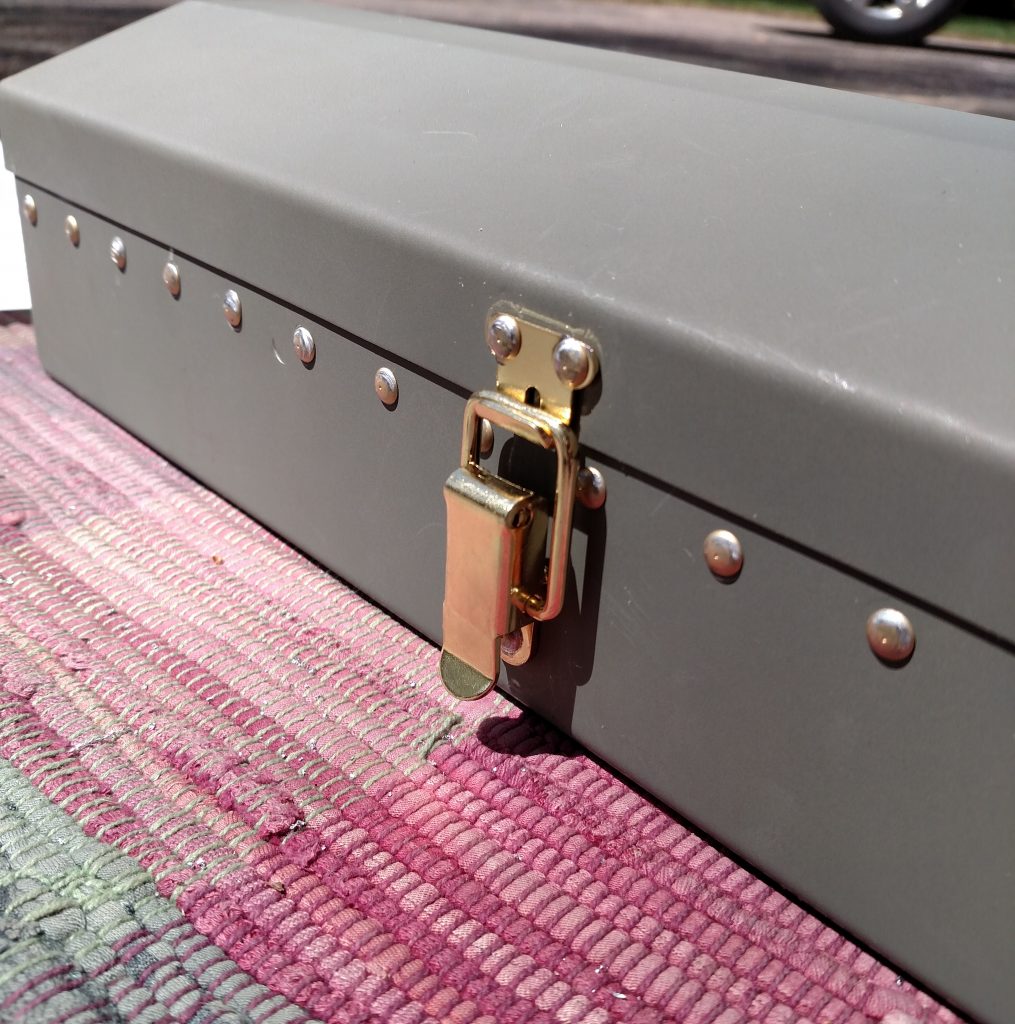
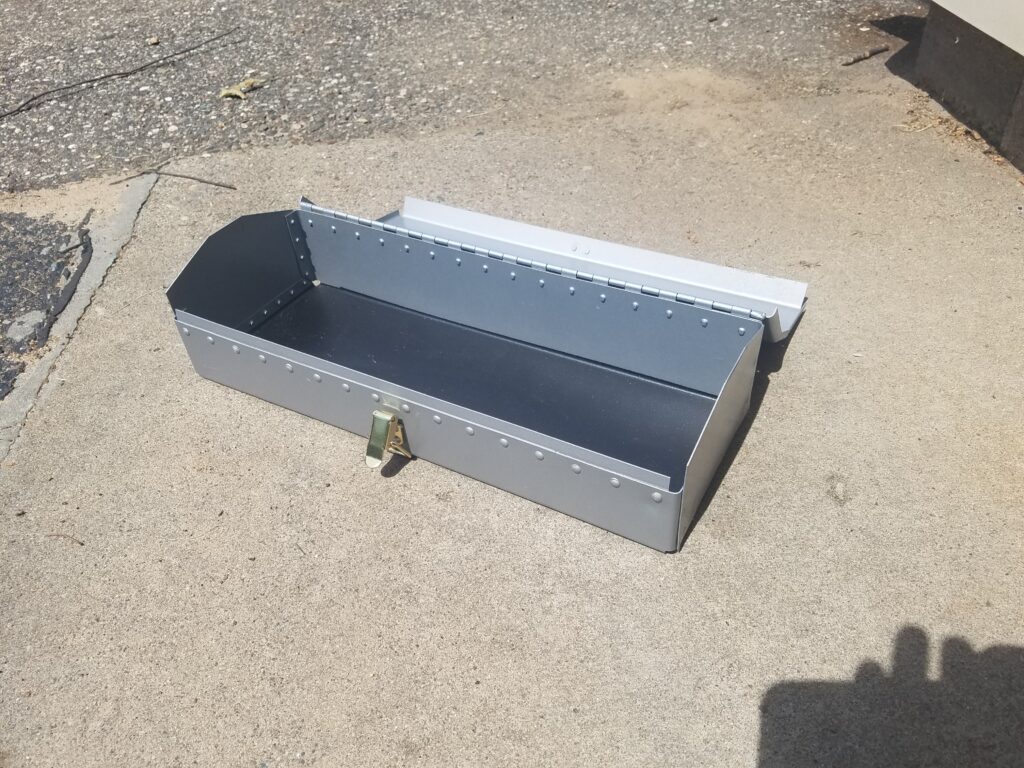
I riveted the latch on and if there is one thing I should redo it’d be this. I started by drilling and riveting the bottom of the latch, the clasp mechanism, to the toolbox. Having this located I held the top in place and used a Sharpie to mark the locations. To help keep the toolbox closed tightly, I thought it’d be a good idea to move the top of the latch up about .5 mm. This would help pull the top down and hold the latch under tension.
Well it didn’t work out too well. In fact I probably didn’t need to move the top part of the latch at all. It ended up pulling the top down so much it pushes the base inwards. You can see the overlap in the picture below. I left it and marked it as “learning experience” since this won’t be the last toolbox.
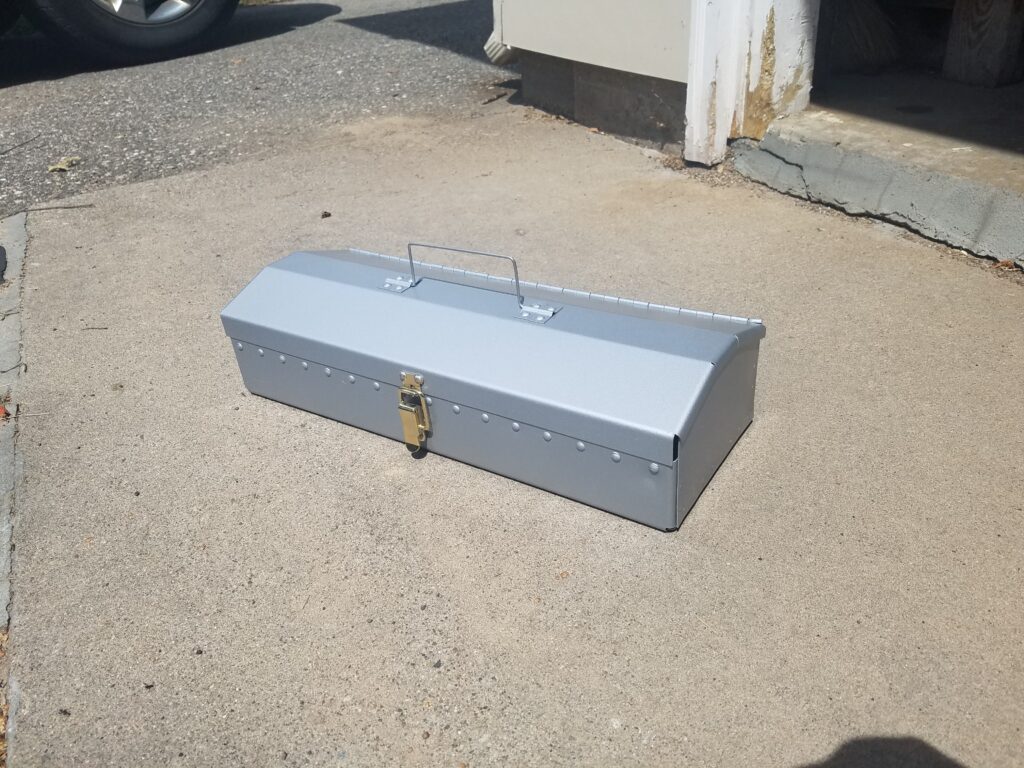
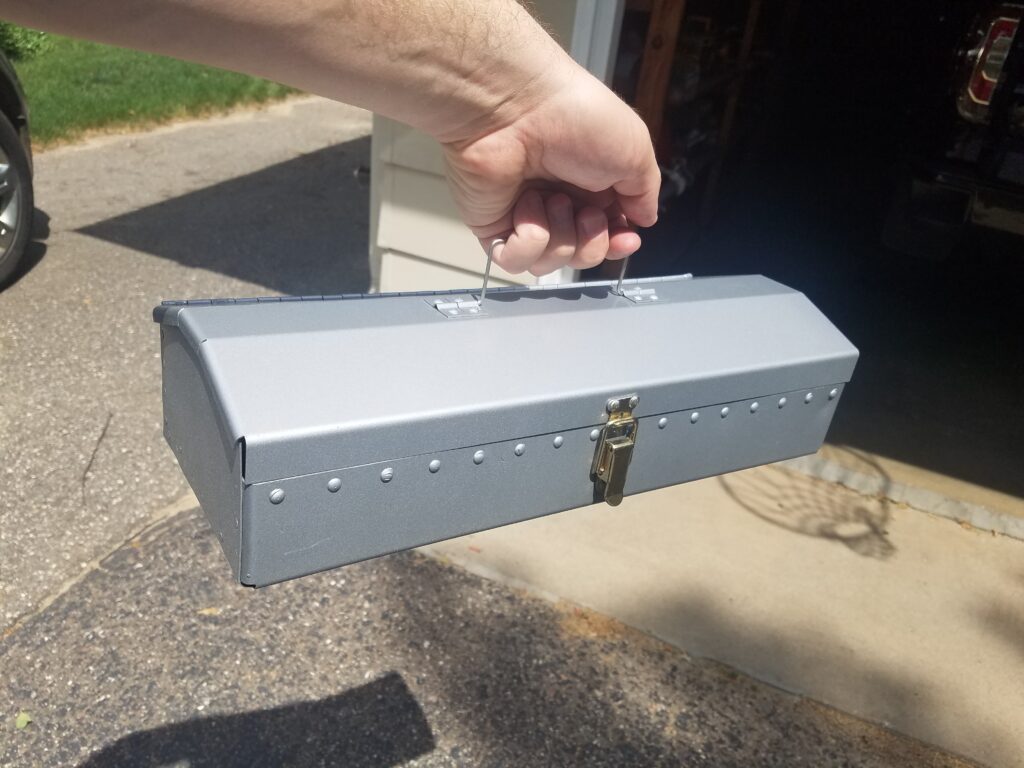
Paint!
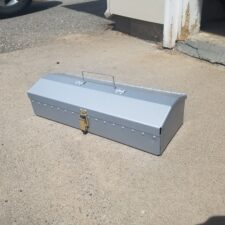
The last thing this toolbox needs is paint! I think it turned out pretty good!
Today I spent 8 hours working, and pounded 55 rivets.
Leave a Reply