
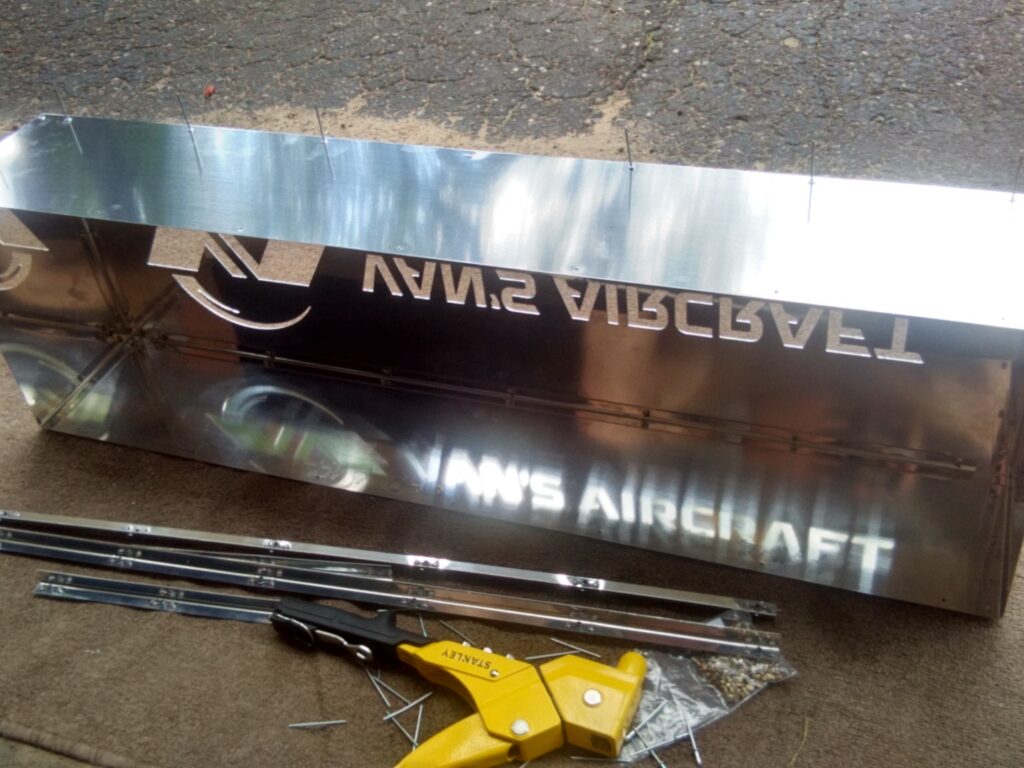
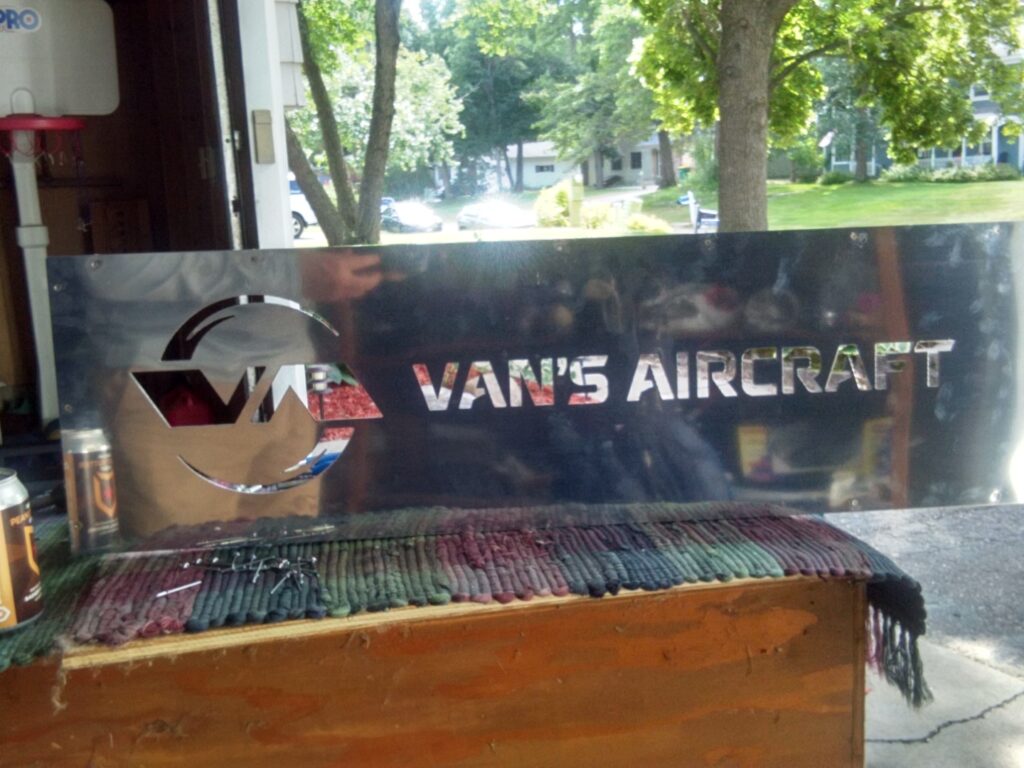
For practice kit #3 I decided to switch it up from the toolbox and go to the Van’s Lightbox. I did this for a few reasons. First, it’s something I can display and look at to keep me motivated. Second, it uses different rivets and different techniques so more practice! Finally, it was something different. I really liked that this kit gave the option for which rivet type you wanted to use. There were enough rivets of each type to do all the main rivets of either flush, universal or pull type. For practice I decided to mix it up and use all 3 types.
One thing I noticed about the kit, the rivets for the front were AN426AD-3-3. When I inserted them and checked the length, they were a bit short. From the toolbox kits I had some longer rivets (-4) so I used those instead. Thanks again Van’s for all the extra rivets!
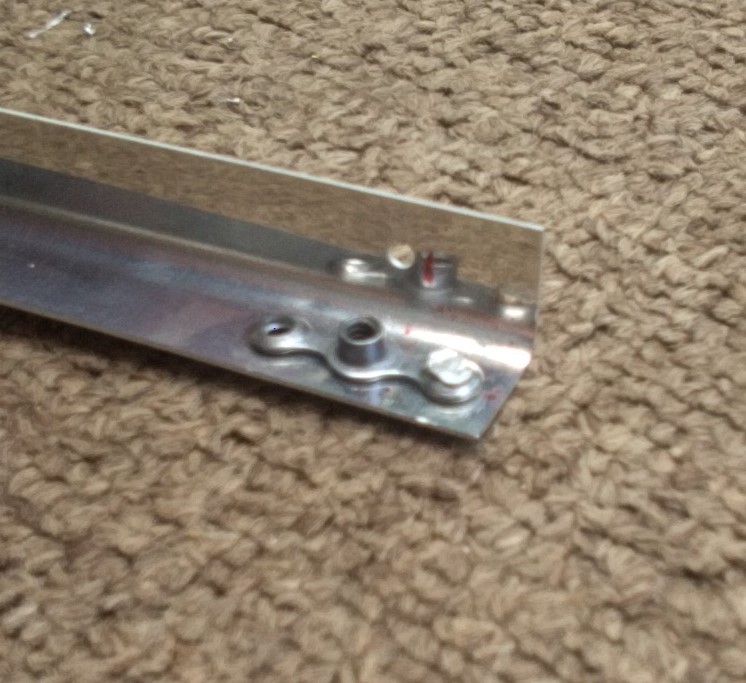
Nutplates get flush mounted onto the back of a sheet. It allows the use of a bolt to fasten sheets together.
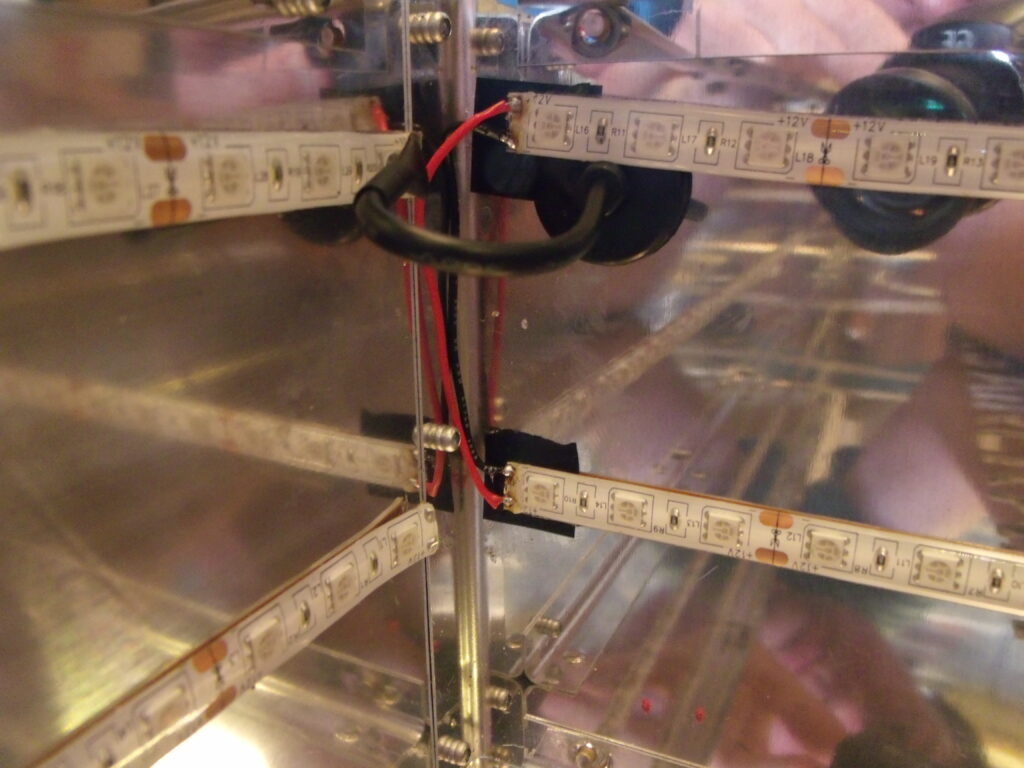
The top and bottom have pull rivets, the front are flush and the side are universal. The rear is removable because of the nutplates.
On this rivet I tried back riveting. I couldn’t get the rivet set just right and you can see how it didn’t hit square and smashed the side. This rivet definitely needed drilling. I think my drilling was about as bad as the rivet. Mental note to practice this more.
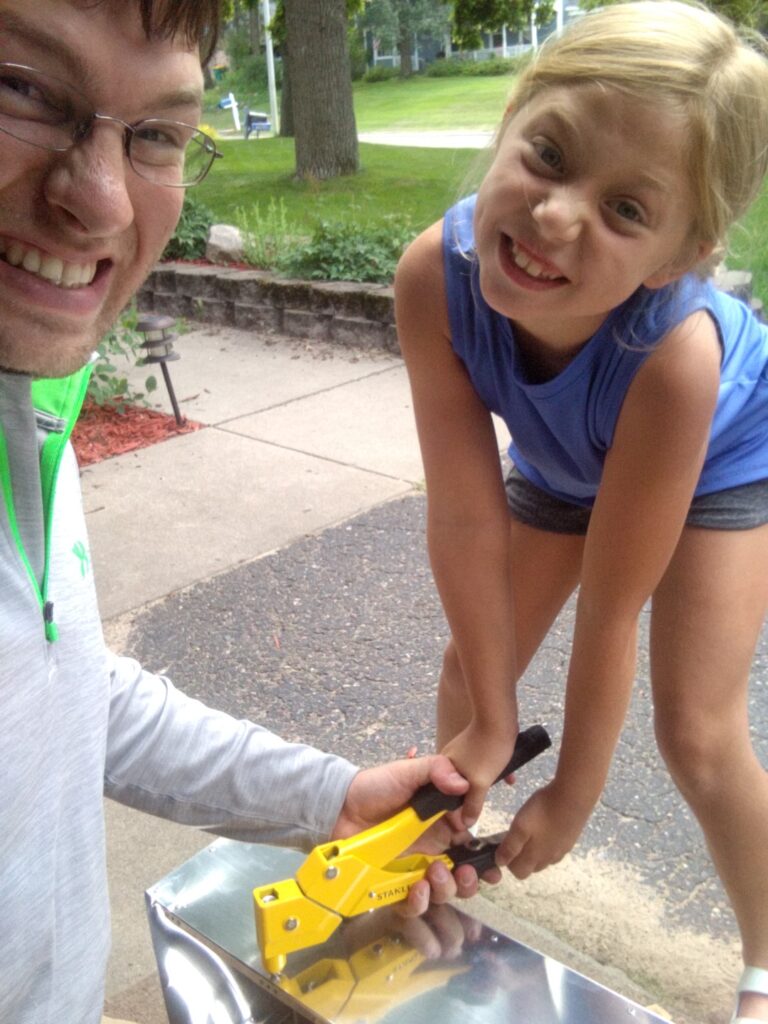
I had a little help from my niece. She wasn’t strong enough to “pop” the rivet so I had to give her a little help.
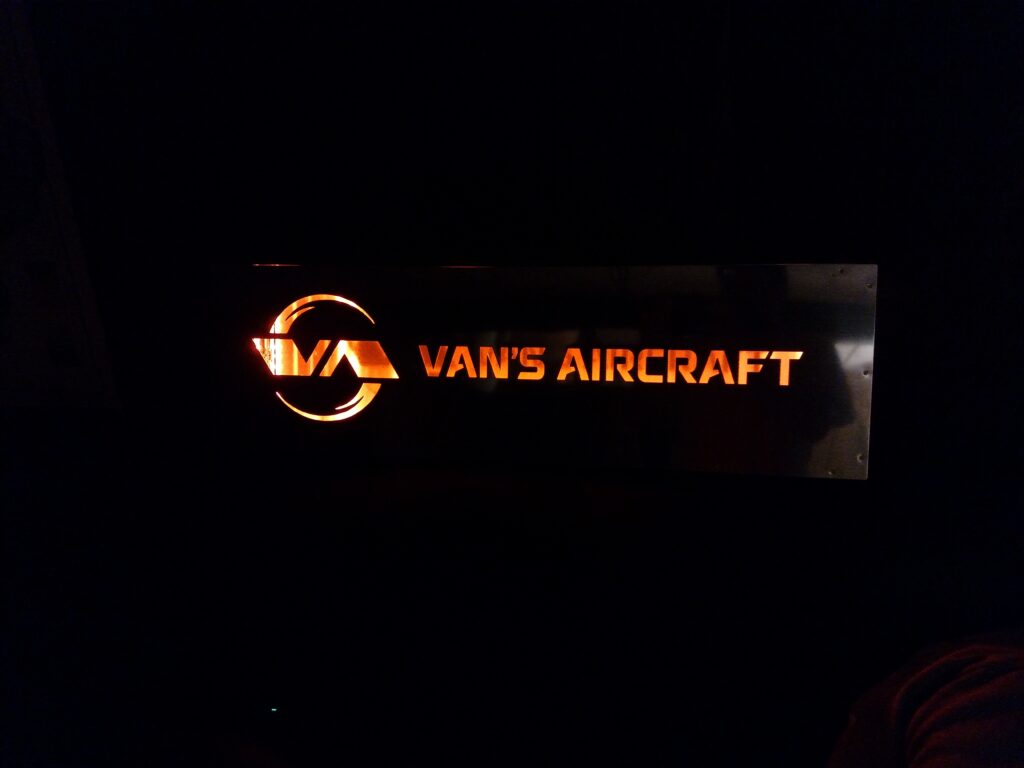
I’ll post another picture once I have the sign mounted in my small apartment.
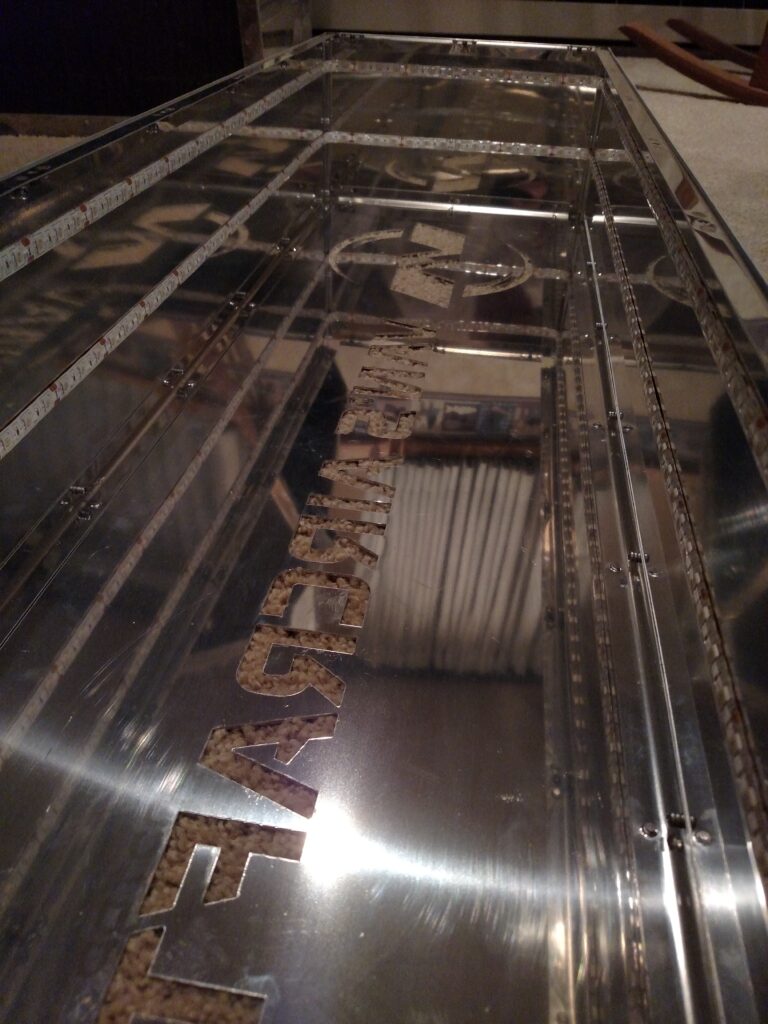
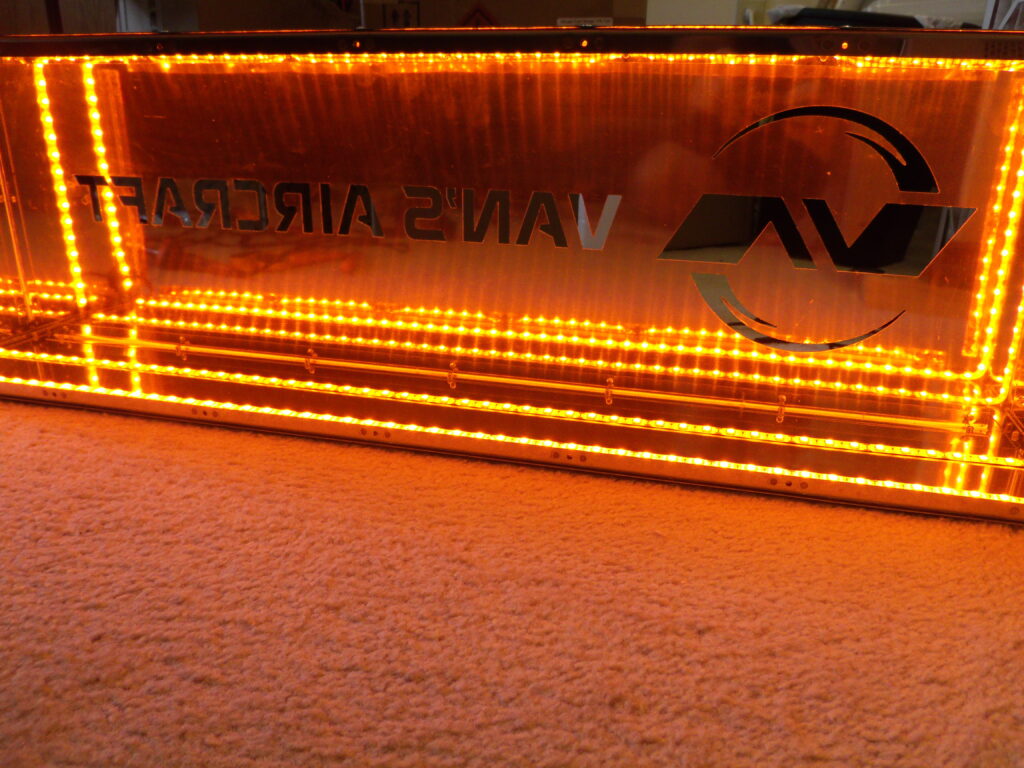
Well I’m pretty happy with the results. The sign has plenty of brightness, in fact I might put in a dimming circuit or even just fix it at a lower current. One complaint of my own doing, I dropped the front face plate on the driveway. It now has a few scuff and scratch marks which slightly detracts from the coolness factor. I might be able to buff some of it out. If I could do it again, I would try leaving on as much of the blue covering film as I could.
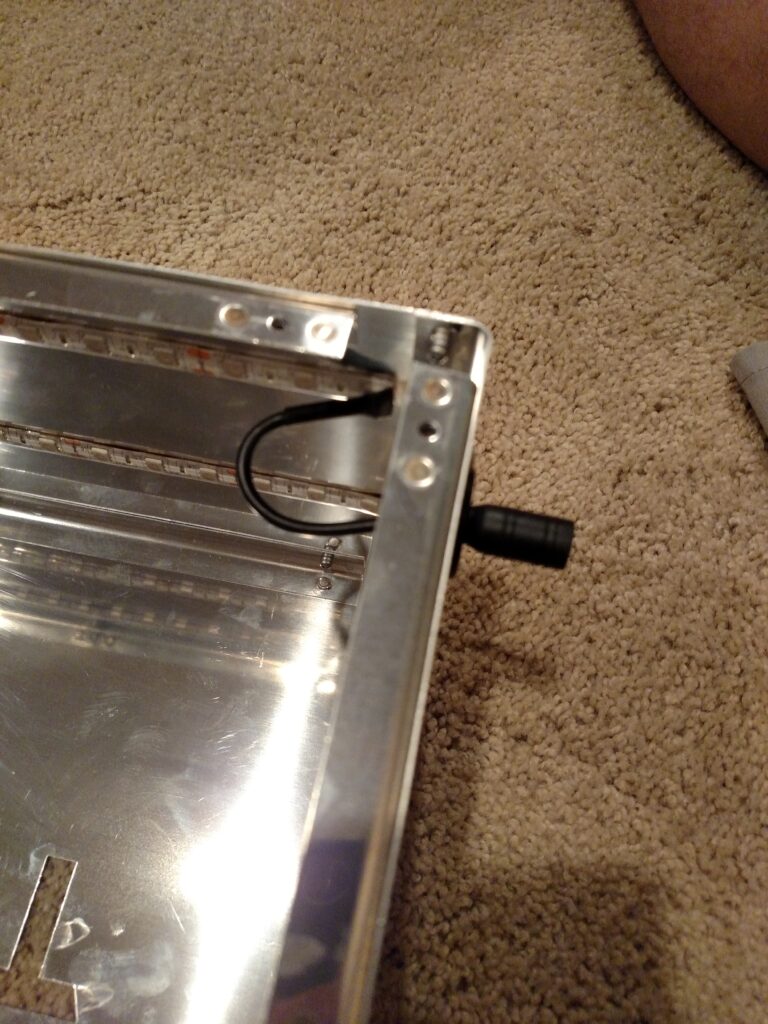
It took me about 4 hours to do prep and riveting, and about 2 hours of getting the LED strips on and wired. Next step is for me to get to a rudder workshop and get some expert feedback into my skills. Right now no classes are scheduled due to COVID-19 so it may be a while.
This took me 6 hours.
Leave a Reply